Sensoterra Single Depth Sensor
Installation guide
Installation steps for already onboarded sensors
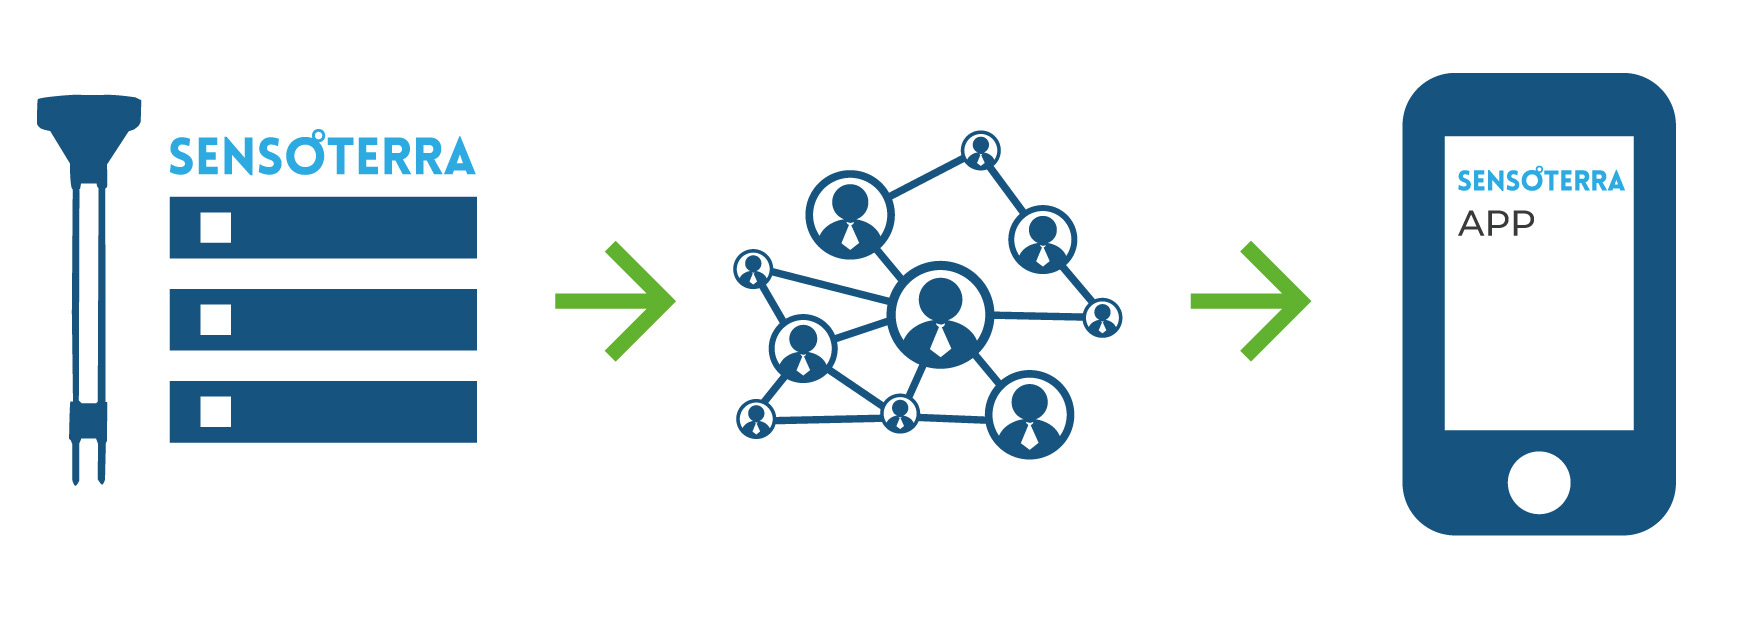
There are three ways to put the Single Depth Sensor into operation. Below are the installation steps for use on a large, public network such as KPN, Digita or TTN. Further below you will still find the procedure for using your own network and displaying it outside of the Sensoterra App. On request, it is also possible to analyze your own soil samples to create your own profile and thus optimize the value determination to your specific use.
1st Possibility:
Sensors already onboarded in a large public network (like TTN) and their use in the Sensoterra APP
1. Download the Sensoterra-App
The Sensoterra App can be downloaded from the Apple App or Google Play Store.
2. Open the app and create an account
This is the account under which you will register the sensors and through which we will send you notifications about the soil moisture of the sensors.
The account credentials are also required for authentication if you want to use the Sensoterra Customer API.
3. Create an installation plan
Consider how you want to distribute the sensors across your land and in what soil type they should be installed.
4. Go to the installation location of the sensor
Open the Sensoterra app, tap "SETUP", then "Add new device" and follow the instructions. Name the sensor and assign the correct properties.
Be sure to specify the correct soil type and the desired "too wet/too dry" thresholds for that sensor in that soil type.
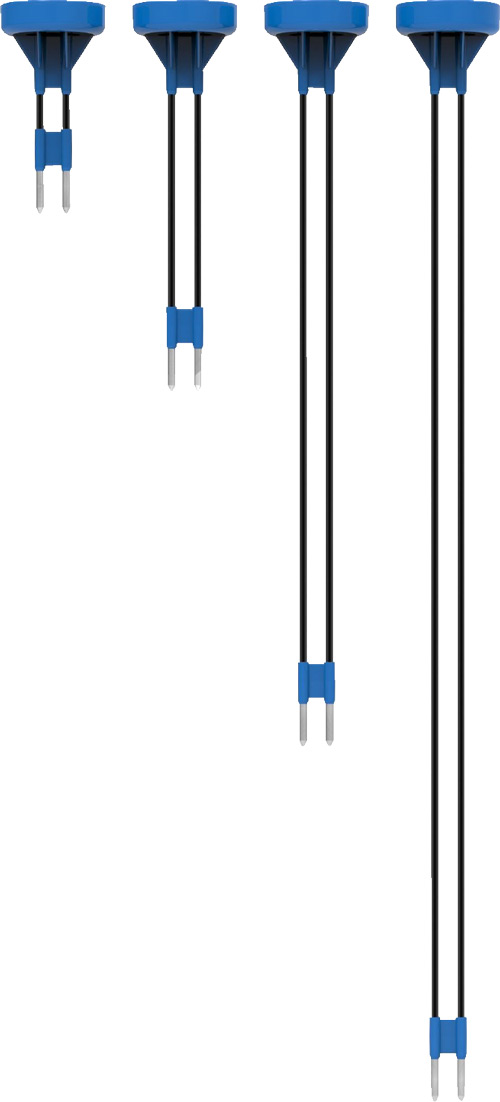
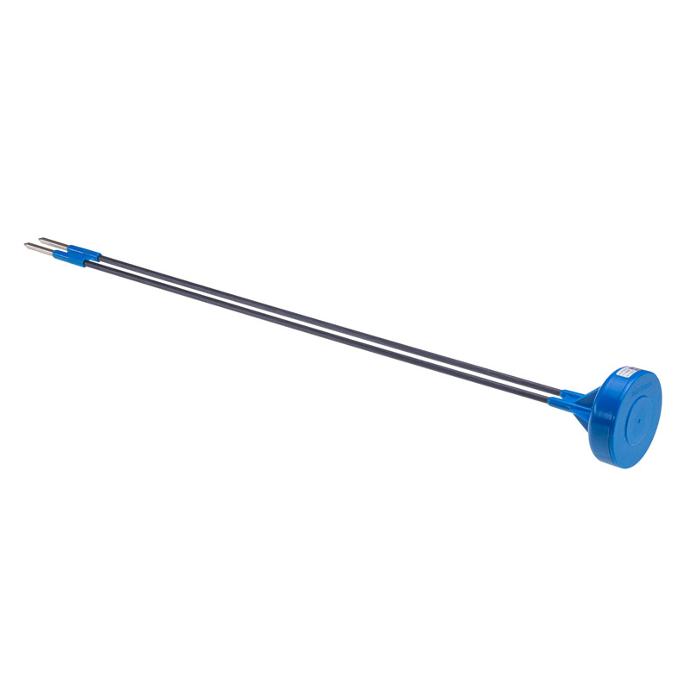
5. Wake up the sensor and put it into the ground
Wake up the sensor by turning it upside down for 2 seconds and quickly raising it again.
6. Sensors can be pushed into the ground
In softer ground, push the sensor into the ground. In difficult terrain, tap the sensor into the ground with a rubber mallet.
The sensor can be inserted to the bottom of the blue housing.
7. More sensors onboard
Repeat steps 4 to 6 for additional sensors.
Ihre ersten Daten sollten innerhalb einer Stunde in der Sensoterra App oder im Webmonitor (monitor.sensoterra.com) verfügbar sein.
In certain cases, it may take up to 48 hours for the first data to appear. This process is to ensure the best possible connection to your LoRa network.
2nd possibility:
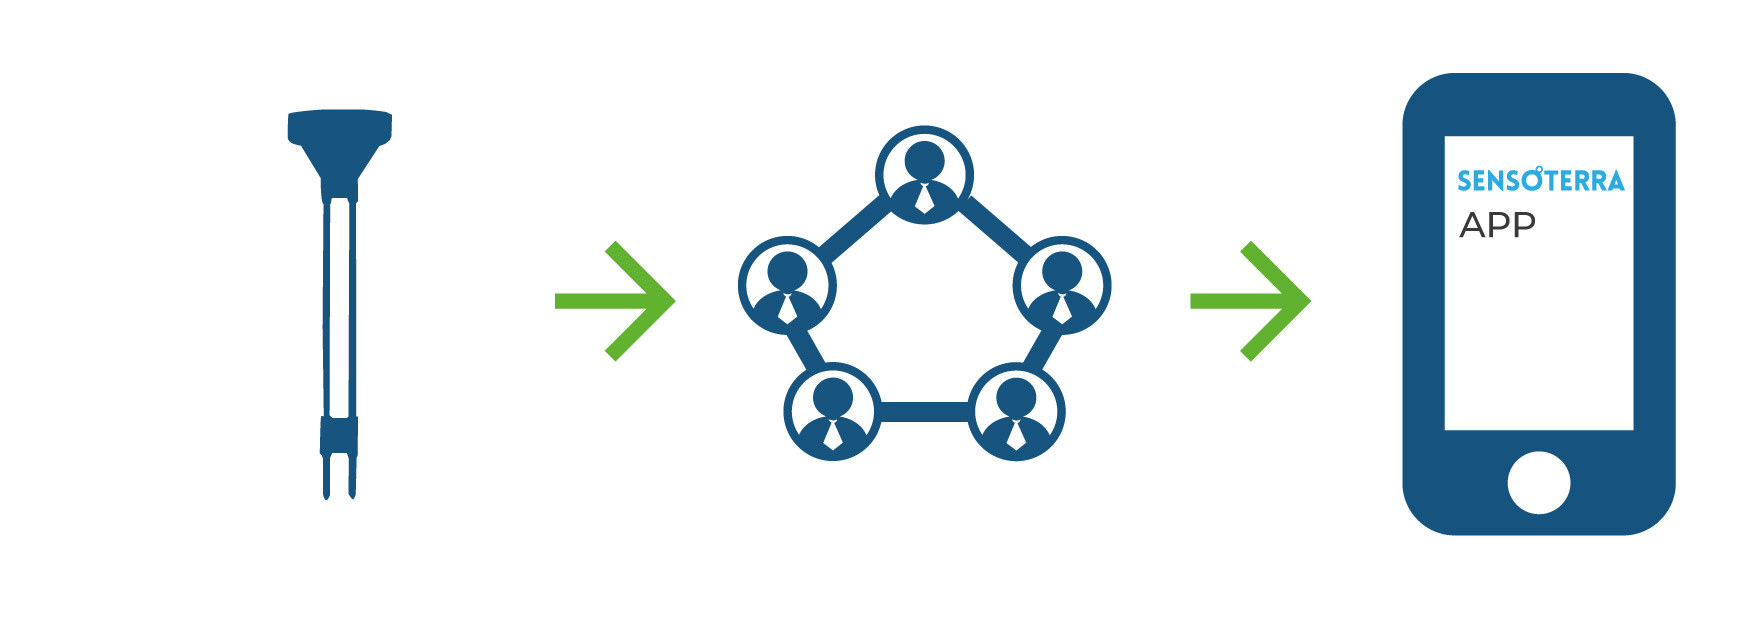
When used in a dedicated network and using the sensors with the Sensoterra APP
When using an own network, such as the Wanesy Management Center from Kerlink or Element IoT from Zenner IoT-Solutions, there is the possibility to use a network via an endpoint. From there, the raw data is then sent to the Sensoterra app, which displays the data in an easily understandable way in the app.
3th possibility:
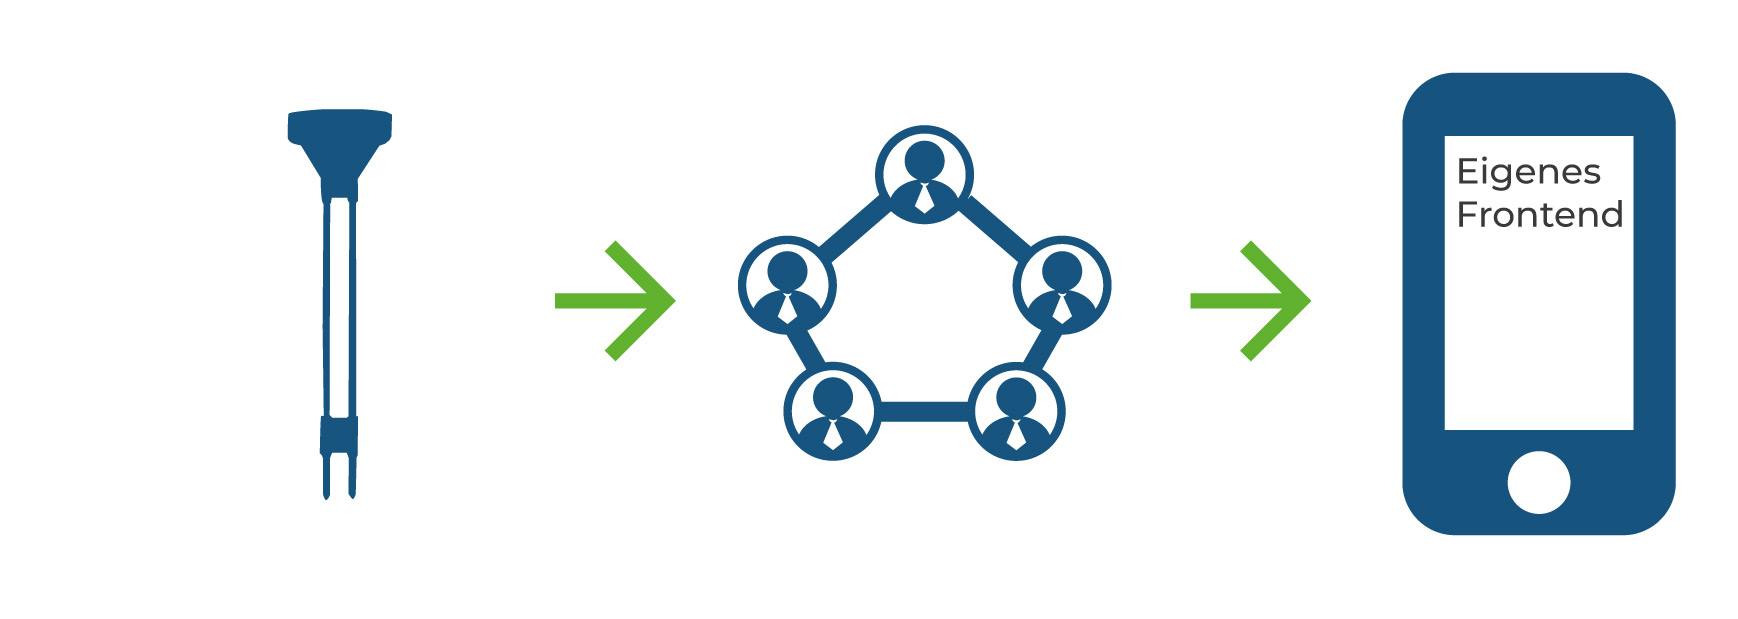
Deployment in an own network and the use of an own frontend
There is the possibility to send the raw data to Sensoterra via a full API and to get corrected values which can then be used in your own frontend (for example
Datacake
) should be displayed. This procedure is associated with increased effort. We are happy to assist you with the implementation on request.
Tips for installation
Push the sensors into the ground or tap them in with a rubber mallet. Do not use a steel hammer on the housing! Strike directly on the top of the sensor in the area of the raised disc.
Soil contact is important for a correct measurement. Should you therefore feel an obstacle or resistance under the floor, try to find another place to place the sensor.
The placement of the sensors is important for a good measurement. Place the sensors near the gateway. Do not place the sensors near large (metal) structures such as grain silos, power poles or water towers. Place the sensors at least 20 meters apart from each other to avoid interference.
Remove the sensors before any mechanical harvesting
The default setting for measurements is once per hour. The charging frequency can be changed, but this may void the warranty.
Remove the sensors from the floor when not in use and store them in a dry place.
If the gateway is turned off, do not leave the sensors in the ground. If there is no LoRa coverage the sensors will continue to try to find a LoRa connection. This can unnecessarily drain the battery and reduce the battery life of the sensor.
When not in use, store the sensors in a cool, dry place to put them into storage mode and extend the battery life. Make sure that the metal ends do not come into contact with each other.
A sensor is tied to the first user account it is linked to, meaning you cannot add the device to another user account. This is a protective feature in case someone else tries to access your data or steal your sensor.
You want a consultation on Smart Agriculture?
You want to learn more about which sensors are suitable for use in smart agriculture or you want a concrete offer? You want to use the sensors in your own network and frontend? Or you are interested in the possibility to get your own soil samples analyzed to create your own profile? We are happy to help you and are your partner for setting up your LoRaWAN network.


